Well, hello there my friends.
I am so glad you've dropped by.
It is most definitely "nice to meet you".

It's your lucky day because today is the March 2018 edition of the Stampin' Up! Artisan Design Team Blog Hop where sixteen Stampin' Up! demonstrators from around the world join together in the hopes to inspire each other and of course, you!
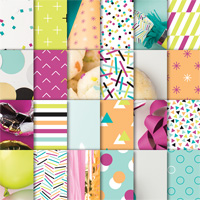
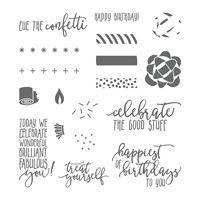
Like other months, we are focusing on a specific product. This month we are focusing on the Picture Perfect Birthday Stamp Set and the Picture Perfect Party 6x6" Designer Series Paper. Quite honestly, I was in love with this product suite from the very start.
Surely, you are right. It's different with its photographic prints but different is nice sometimes, isn't it? And can the stamp set get any more perfect?


My finished product is a birthday banner. These banners are becoming more and more trendy as we celebrate our loved ones lives in the forms of pictures. This banner is no different showing several layers coming mutliple products but at the end of the day, the star of the show is the pictures.
Photo Credit throughout this post goes to White Willow Photography

WHERE TO BEGIN?
When I started this project, I began laying out the products along with the photos. I mixed and matched ribbons and varying shapes and sizes of cardstock and patterned paper. Sometimes I take a snap shot of this so that I can have a different perspective. Here's how it looked before I finalized what would go where.

PROJECT DETAILS://
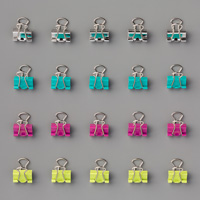
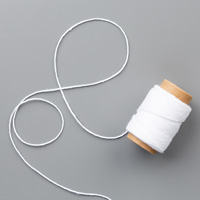
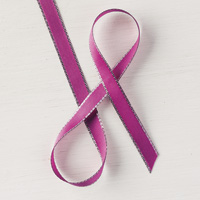
Once I decided the placement of everthing, the Birthday Mini Binder Clips made it easy to join the Berry Burst Metallic-Edge Ribbon and Silver Mini Sequin Trim to each of the photos. The paper banner behind the photos is made up of a combination of Berry Burst cardstock and the Picture Picture Party Designer Series Paper strung together with Whisper White Baker's Twine.
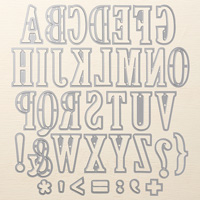
Finally, I decided that all that was needed was the words "happy birthday" using the Large Letter Framelit Dies in Soft Sky Cardstock. Are you wondering how they are floating? Glue dots are your best friend sometimes - Instead of using a hole punch, I adhered the letters to the Whisper White Baker's Twine using glue dots. #boom #adttricksandtechniques

I am so thankful that you have dropped by to check out my project today.
Be sure to keep hopping to check out the amazing Charlet Mallet!

Are you following me on instagram? That's where you can find me most often!

Are you lost?
Sometimes links break - use this blog roll to get you back on track!
BLOG ROLL
Please see below for a list of Stampin' Up! products used in today's project: